Your First Experience with ORQA
This Task
To get you started quickly, we have prepared instructions that will help you understand the basics of the ORQA interface. In this tutorial we show you how to load and modify an Excel file. Once you have completed this, you will have enough knowledge to work on tasks such as browser automation in the next tutorials!
User Interface
ORQA user interface is highly intuitive and user-friendly. The screen layout can be modified by simply moving the internal windows to new places. 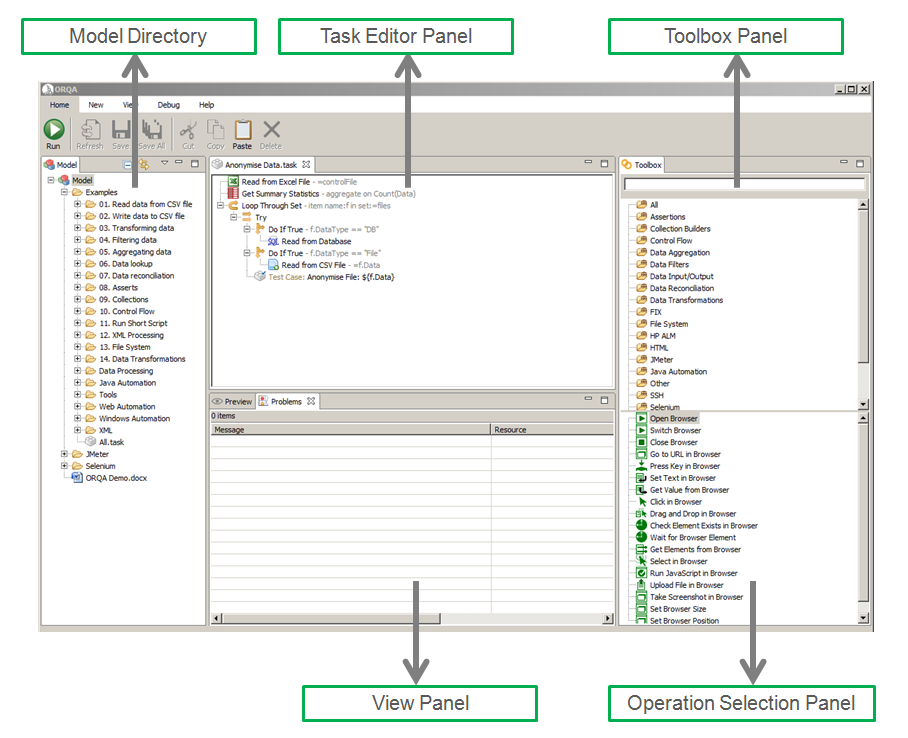
Creating your First Task
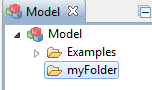
1. Create A New Folder
Right-click on “Model” in the model window, and select New>Folder. A popup window will appear, enter a folder name (e.g. myFolder) and click Finish.
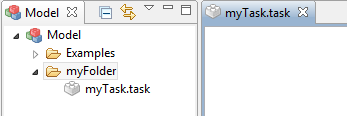
2. Create Your First Task
Right-click again on the folder you just created and select New>Task. A popup window will appear and you can enter a task name (e.g. myTask) and click Finish.
3. Get A Sample Data File
Download the following file Excel file found here or use your own data file. Save the file anywhere on your computer to located it from ORQA later.
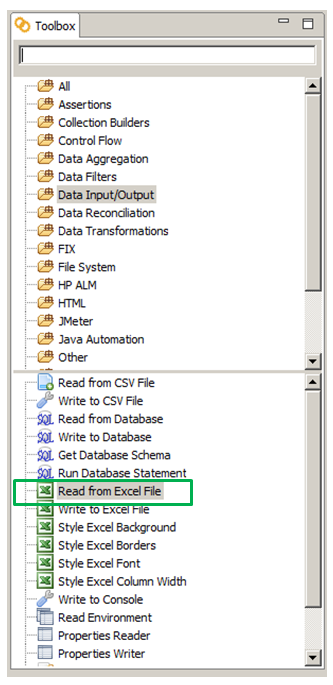
4. Add “Read from Excel” Operation
In the “Toolbox” window select the “Data Input/Output” category from the operation categories that are available. Double-click on the “Read from Excel” operation in order to add it to your task (you can also drag-and-drop it).
5. Configure The “Read from Excel File” Operation
In the task editor, double-click on the ‘Read from Excel File’ operation you have just added.
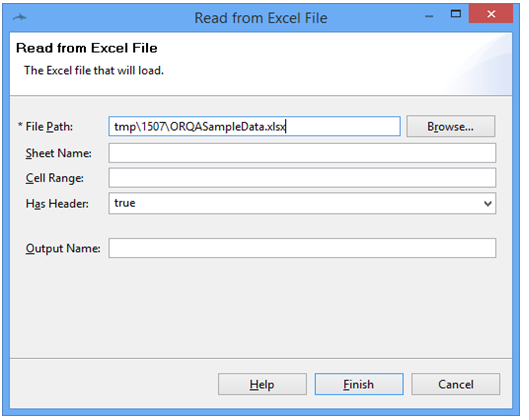
Click the “Browse” button, to select the file you want to read the data from (the file you’ve downloaded in the previous step). The rest can be left blank.
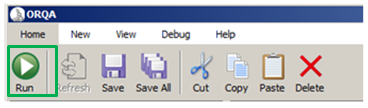
6. Run The Task
You can run the task by clicking on the “Run” button in the Home Ribbon (you can also use a short-cut and press F8).
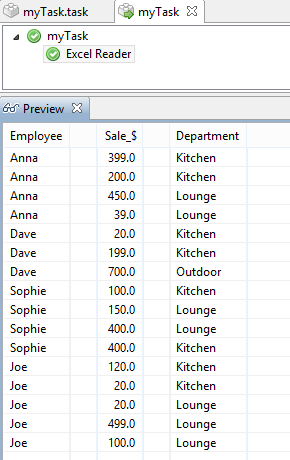
7. View The Output
After finishing the task, you can view the output in the pop-up window.

Adding More Operations to Your Task
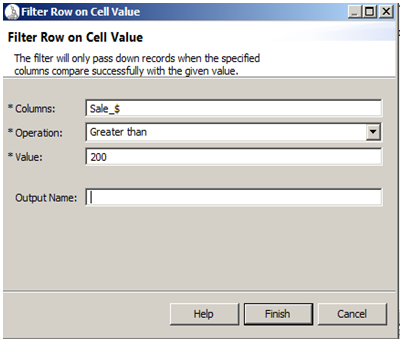
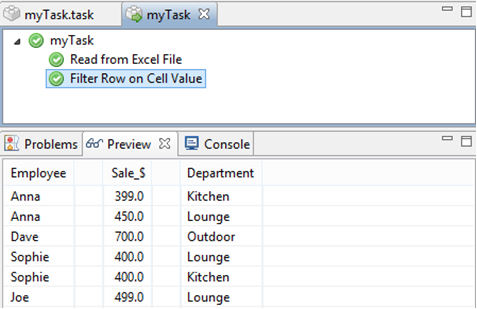
8. Adding A Filter
In the “toolbox” window, select the “Data Filters” category and then double-click (or drag-and-drop) on “Filter Row on Cell Value” operation. Add it after the "Read from Excel File” Operation.

Configure the operations parameters with:
| Parameter | Description |
|---|---|
| Columns | Sale_$ (note that ORQA is case sensitive when selecting columns) |
| Operation | Greater |
| Value | 200 |
Run the task and you will see the results preview of the filtered data.
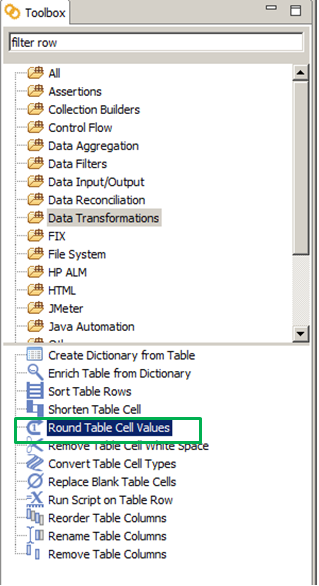
9. Data Transformation
Transform the ‘Sale_$’ column by adding a “Round Table Cell Values” operation (category: ‘Data Transformations’). This will round the sales values to the nearest hundred.
Configure the operations parameters with:
| Parameter | Description |
|---|---|
| Columns | Sale_$ (note that ORQA is case sensitive when selecting columns) |
| Decimal Places | -2 (-1 will round to the nearest ten, -2 to the nearest hundred, etc) |
| Value | Half up (This rounds upwards when the value is a 5) |
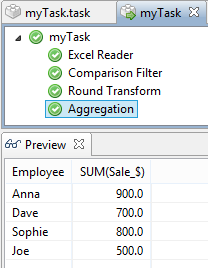
10. Aggregation
You can perform different “Get Summary Statistics” operations (category: Data Aggregation). Configure the operations parameters with:
| Parameter | Description |
|---|---|
| Aggregate Columns | Sum(Sale_$) |
| Group by Columns | Employee |
When you run the task, the result can then be seen in the preview:
11. Saving The Result
The task result can be saved in an Excel file by just adding an Excel Writer operation (category: Data Input/Output), with the following parameter for the file path: myFolder.result.xlsx
Learn More
You can learn to use ORQA for web automation here.
You can learn to use ORQA for data reconciliation here.
Technical users can learn to use ORQA in headless mode here.