Your First ORQA Task In Three Minutes
This Task
To get you started quickly, we have prepared instructions that will help you understand the basics of the ORQA interface. In this tutorial we show you how to load and modify an Excel file. Once you have completed this, you will have enough knowledge to work on tasks such as browser automation in the next tutorials!
Getting ORQA
If you do not already have ORQA installed, just download and unzip (extract) the file from here. Then run the ORQA Application (ORQA.exe for windows users).
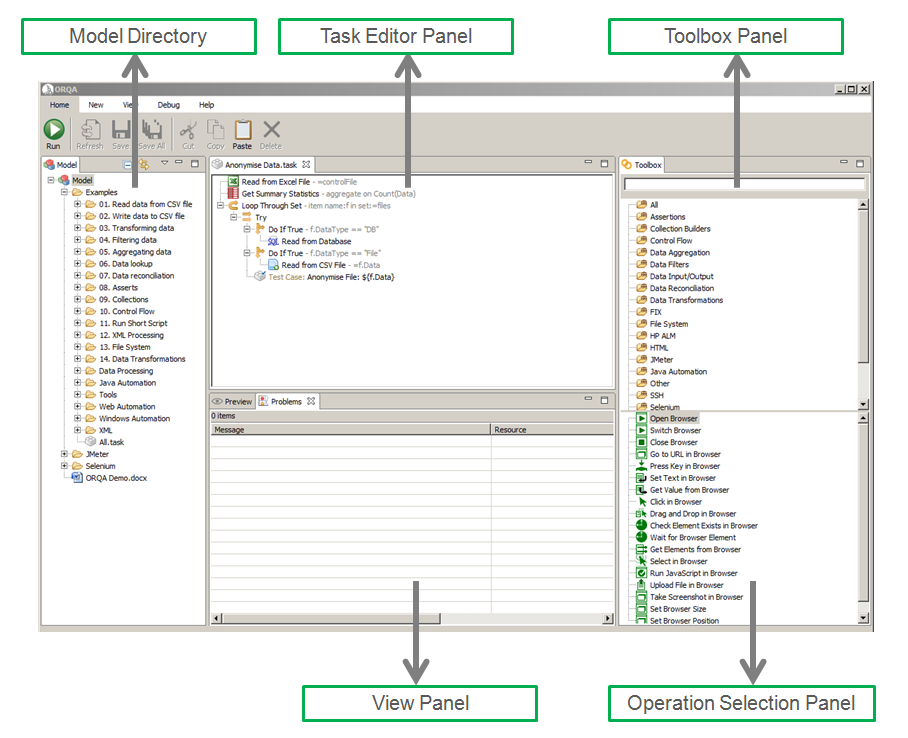
User Interface
The ORQA user interface is a workbench for creating running automated tasks.
Creating Your First Task
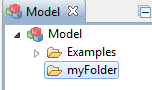
1. Create A New Folder
Right-click on “Model” in the model window, and select New>Folder. A popup window will appear, enter a folder name (e.g. myFolder) and click Finish.
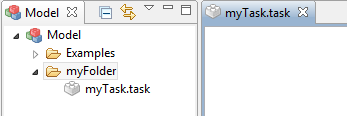
2. Create Your First Task
Right-click again on the folder you just created and select New>Task. A popup window will appear and you can enter a task name (e.g. myTask) and click Finish.
3. Get A Sample Data File
Save the Excel file found here (if you have the Google doc’s app installed right click the link and select “Save as” to save the file). This will be used in the next step of the example.
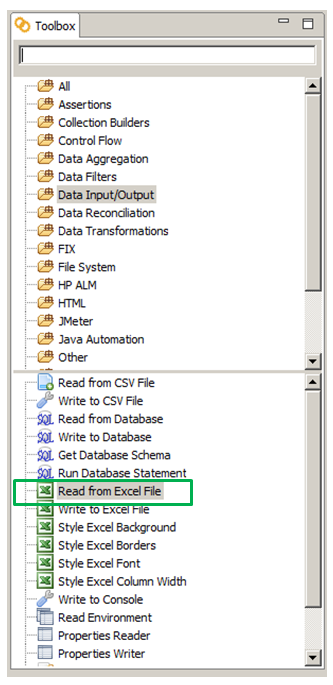
4. Add An Excel Reader Operation
In the ‘Toolbox’ window select the ‘Data Input/Output’ folder from the operations that are available in the toolbox (below the folders). Double-click on the ‘Excel Reader’ operation in order to add it to your task (you can also drag-and-drop it).

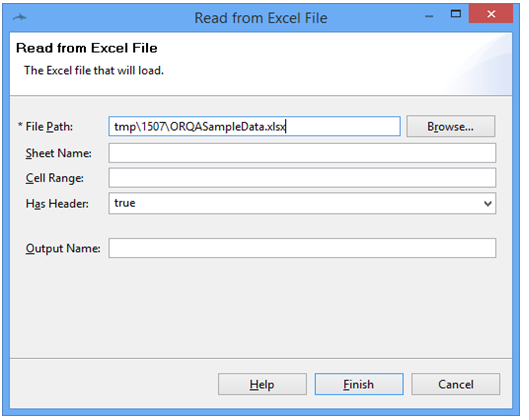
5. Configure The Excel Reader Operation
In the task editor, click on the Excel reader operation you have added and then select the properties window. In the properties window select file path and then select the file you downloaded in step 3. All the fields other fields (those WITHOUT a *) can be left blank:
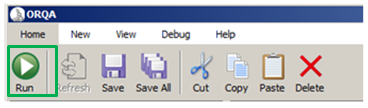
6. Run The Task
Ensure the focus is on your task and the click on the Run button which is in the Toolbar:
A result tree will appear:
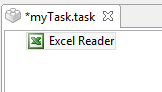
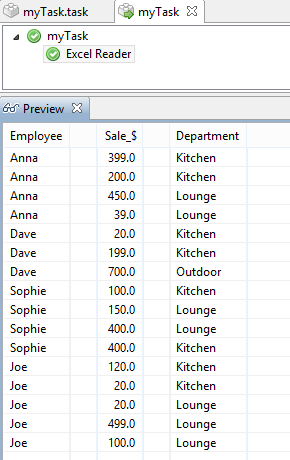
7. View The Output
In the result tree, click on the Excel Reader node to see the operation output:
WELL DONE! YOU HAVE SUCCESSFULLY CREATED YOUR FIRST ORQA TASK IN UNDER THREE MINUTES, LEARN TO ENHANCE YOUR TASKS BELOW!
Adding More Operations To Your Task
There are two different views of tasks, the editor view and the results view. The editor view lets you modify the the task. The results view shows the results of a task and is displayed when you run a task. You can change between views using the tabs at the top of the task window.
8. Adding A Filter
To only view a subset of your data you can use a filter. In the toolbox, select the Data Filters category and then double-click (or drag-and-drop) a Comparison Filter operation. Configure the operations parameters with:
Columns: Sale_$ (note that ORQA is case sensitive when selecting columns)
Operation: Greater than
Value: 200
Run the task you will see a result tree with an additional node: Comparison Filter. Click on it you will see in the Preview the result of the filter.
If you press Ctrl while selecting two output nodes of the result tree, the preview window will display both outputs at the same time (and it also works when you select 3 result nodes or more).
9. Data Transformation
The transform operations allow you to transform your data. Transform the ‘Sale_$’ column by adding an Round Transform operation (category: ‘Data Transformations’), which will be used to round the sales values to the nearest hundred the following parameters:
Columns: Sale_$ (note that ORQA is case sensitive when selecting columns)
Decimal places: -2 (-1 will round to the nearest ten, -2 to the nearest hundred, etc)
Rounding mode: Half up (This rounds upwards when the value is a 5)
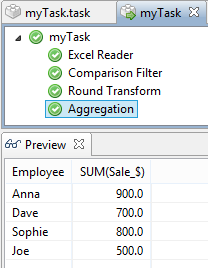
10. Aggregation
Statistics can then be calculated by adding an Aggregation operation (category: Data Aggregation), with the following parameters:
Aggregate Columns: Sum(Sale_$)
Group by Columns: Employee
The result can then be seen in the preview:
11. Saving The Result
The task result can be saved in an Excel file by just adding an Excel Writer operation (category: Data Input/Output), with the following parameter for the file path: myFolder.result.xlsx
When saving an output in ORQA, remember to add the file extension (e.g. xlsx for Excel format).